
How to prepare an appointment for a Web Ex
If you want to organize a Web Ex with people who lives in different zones of the planet you have to take care of their time zones.
Follow the next easy steps to do it. The goal is just some clicks away.
Be sure your Outlook Application is running. Otherwise, under some configurations, the appointment will not be saved at all.
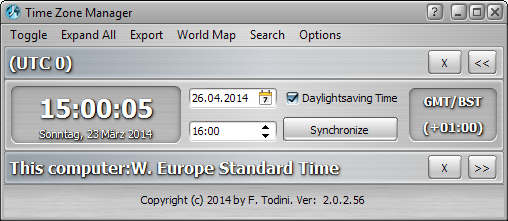
1) Set the Date and Time of your time zone.
Choose the date of the appointment, let's say 25.03.2014.
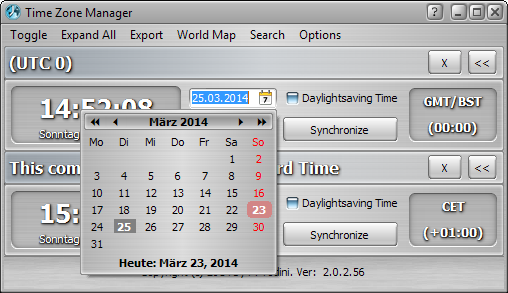
Choose the time of the appointment. Let's say 15:00.
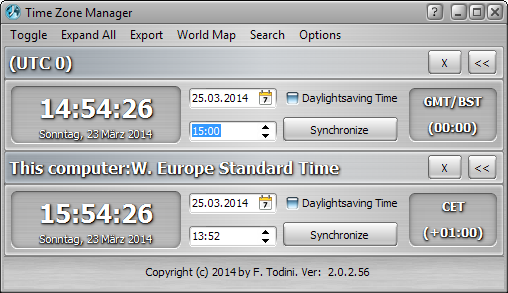
2) Click the Synchronize button in your time zone.
The synchronize button  you have to click is, logically, the button inside the time zone where you inserted the appointment date and time in step 1).
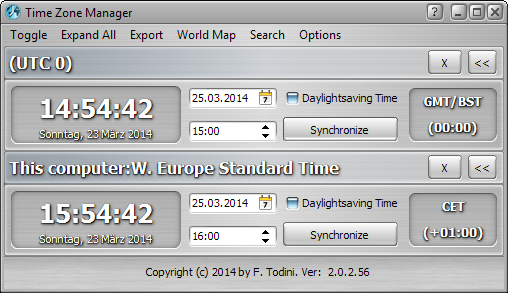
Now all the time zones have the correspondent time and date to that what you set in step 1).
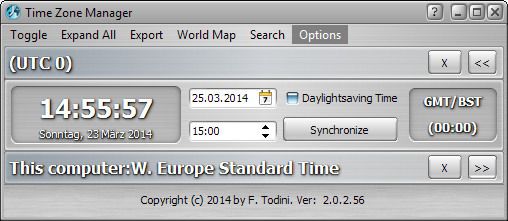
3) Collapse the time Zones you don't want to export.
Let us collapse the local time zone.
4) Click the Export button in the main menu.
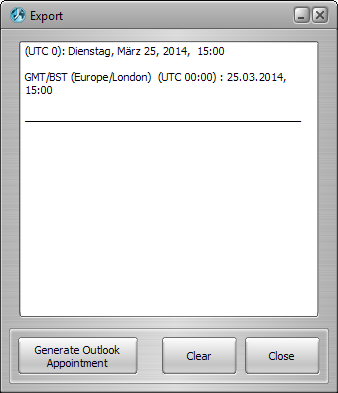
As you can see only the expanded time zones in the main window will be inserted in the list.
5) Choose the date and time for an alternative meeting and synchronize.
We chose 26.04.2014 at 16:00.
6) Click the Export button.
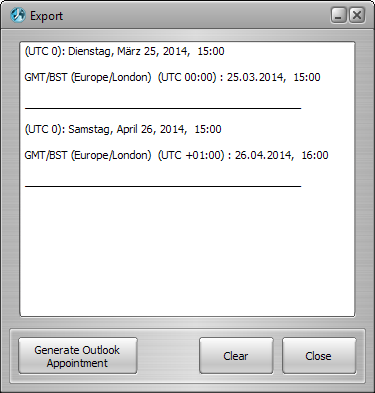
The alternative appointment has been inserted in the export window.
Note that the first time zone is always UTC 0, the reference time zone.
Also note, in this example, that London (this is what we have chosen in our first time zone), on 26.04.2014 will be in
DST, so its offset from neutral UTC0 is +01:00.
7) Click the "Generate Outlook appointment" button.
This will insert a new appointment to your default calendar.
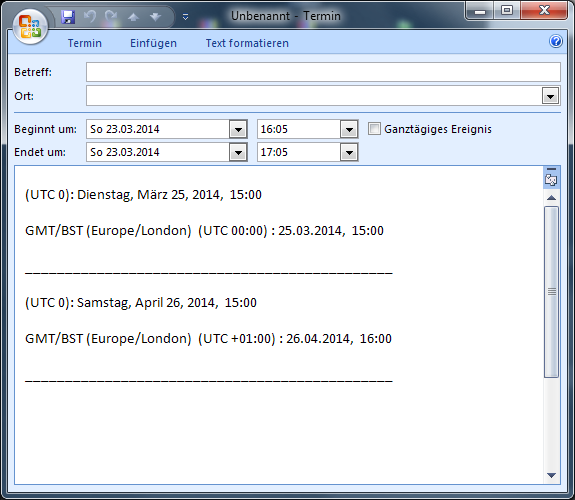
Define the missing properties for the appointment and don't forget to save it!